My Ultimate Splitboard Setup: A Guide for Beginners and Enthusiasts Alike
Hello, fellow snow enthusiasts! If you’re new to the world of splitboarding or just looking to upgrade your gear, you’re in for a treat. Today, I’m diving into my current splitboard setup, which has transformed my backcountry adventures. It’s a blend of high-performance, convenience, and sheer fun. Let’s break it down piece by piece!
The Heart of the Setup: Jones Ultra Solution Board
Starting with the star of the show, the Jones Ultra Solution Board.
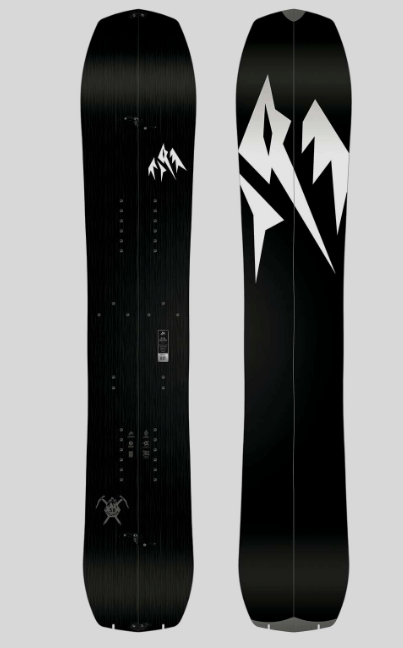
This board is a dream come true for any backcountry rider. It’s lightweight yet incredibly sturdy, offering exceptional performance in deep powder and on steep, technical lines. The Ultra Solution’s innovative design provides excellent float in the fluffiest of snow, and its responsiveness makes carving through trees feel like a breeze. Whether you’re a seasoned pro or just starting out, this board offers the perfect balance of playfulness and control.
I’m riding the 2023 Model, which is on sale now for what I think is one of the best deals on the internet. If they have your size in stock, and you’re considering this board, you should definitely check out the Jones Snowboarding site before they’re all gone. I don’t think you can go wrong with this board, even if you are just getting into splitboarding.
A few notes on this board, well, actually really only one word: STIFF!!!! This board is significantly and noticeably stiffer than any board I’ve ever ridden. I love that for sketchy, big mountain descents and control in steep couloirs, but it does take some getting use to, especially if you’re coming from a softer all mountain board.
I currently have more than 75 days on this board, mostly in the backcountry, but quite a few skinning up at my local resorts, and, other than a few surface scratches, it is as solid as the day I got it.
My wife is currently riding a Jones Dreamweaver Splitboard. It is significantly less stiff than the Ultra Solution, but still has plenty of backbone for steeper, less powdery terrain while floating like an angel through the soft stuff. She likes it so much that she’s started riding it on bluebird resort days.
Stepping into Comfort: Phantom Snowboard Slipper HD Boots
Comfort is key in the backcountry, and the Phantom Snowboard Slipper HD Boots deliver just that.
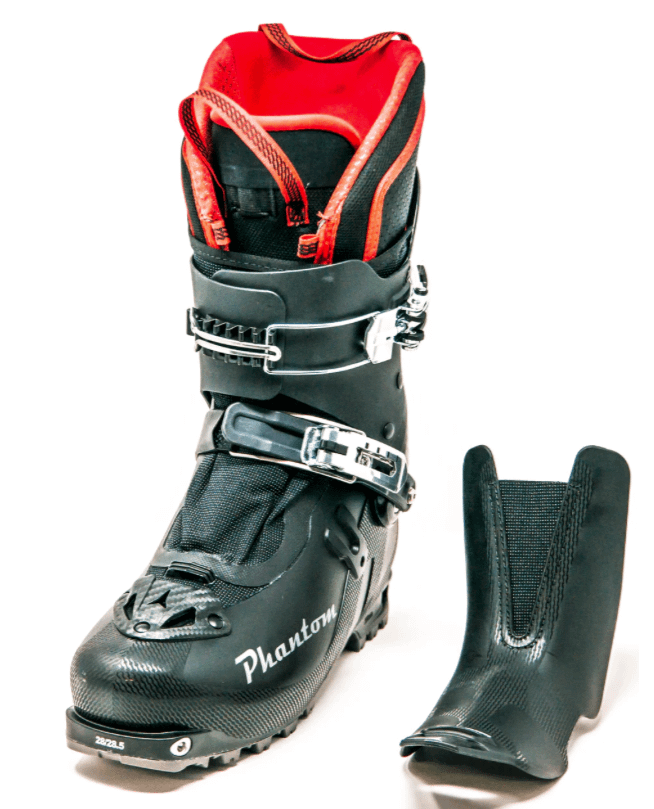
These boots are a revelation – they’re light, comfortable, and give you a feel akin to wearing your favorite pair of sneakers. I’ve been snowboarding since 1994 and backcountry splitboarding since 2018. I have spent the majority (21 out of 24 years) of that time in soft boots and have ridden the range from corpse-like stiff boots to super sloppy freestylers. I laughed at my skier buddies for years as they stomped around resorts all over the world looking like Frankenstein on vacation.
Well, these boots have changed my entire way of thinking. They are much, much more comfortable than any soft boot I’ve ever worn (and I’ve worn at least 15 different models over the years). The ability to shift the boots into “walk mode” allows so much more flexibility than even the sloppiest soft boot. You have to try them to believe it, but trust me, I actually find myself wearing these most resort days because the performance, along with the comfort, is just unmatched.
Don’t let the comfort fool you; they pack a punch in terms of performance. The beauty of a hard boot setup is that their stiffness, once you shift from walk/skin mode to downhill mode, ensures precise control and power transfer, making those tricky ascents and descents feel more secure and controlled.
Most importantly, the lateral stiffness of these boots, and their connection to the board, has revolutionized sidehilling from me. What used to be a constant slipping and repositioning, often causing minor anxiety attacks on steep sidehills, while my skiing buddies were gliding along snapping selfies, is now a surefooted traverse that greatly increases the joy of backcountry splitboarding for me. It’s a total game changer!
One final note regarding the hard boot vs soft boot debate: These boots have the same type of toe and heel welts that regular ski and mountaineering boots have making them compatible with just about every style of automatic crampons. If you’ve ever tried to get, and keep, crampons on soft boots, or have ever tried to kick in steps with them, you have felt my pain. The hard boot revolutionizes that aspect of backcountry splitboarding and mountaineering, too!
The Tech Edge: Phantom Snowboard GT Tech Toes
Now, let’s talk about the Phantom Snowboard GT Tech Toes. These little guys make a BIG difference and are a big part of making this setup. my ultimate splitboard setup!
The tech toes are lightweight and designed for efficiency during long tours. They offer a secure and precise connection to your board, ensuring that every ounce of your energy is translated into forward motion. They’re easy to engage and disengage, which means less fiddling and more riding!
All of that is great, but what is really GREAT is that you are no longer lifting a large, clunky binding each and every step. This has made a giant difference for me on those long tour days, especially the ones that involve a 2-3 mile skin before you even get to the start of the climb. The Dynafit type pin setup is so very efficient and smooth. That, coupled with the lower weight of the Slipper HD boot (versus most soft boots), and the complete absence of a standard soft boot binding, means my legs are fresher for riding than they’ve ever been in the past. And, when it’s time to do the long skin back to the trailhead, I notice a huge difference in how much I have left in the tank.
Honestly, the hard boot and tech toe combo is what really makes the Phantom setup sing for me. I can’t stop talking about it and have happily fully transitioned my board at local resorts and trailheads to show fellow splitboarders, or aspiring splitboarders, what’s up. I don’t own a snowmobile and find that I have a lot of long days in the backcountry. On most of those days, I’m skinning 6-8 times as long as I’m riding. Having a lightweight, efficient setup for skinning has been the biggest improvement in my Splitboard setup.
The Phantom GT Tech Toes also allow for the super easy attachment of Splitboard Crampons. The ones Phantom sell are actually highly recommended. The built in riser system works perfectly and they come in regular and wide sizes.
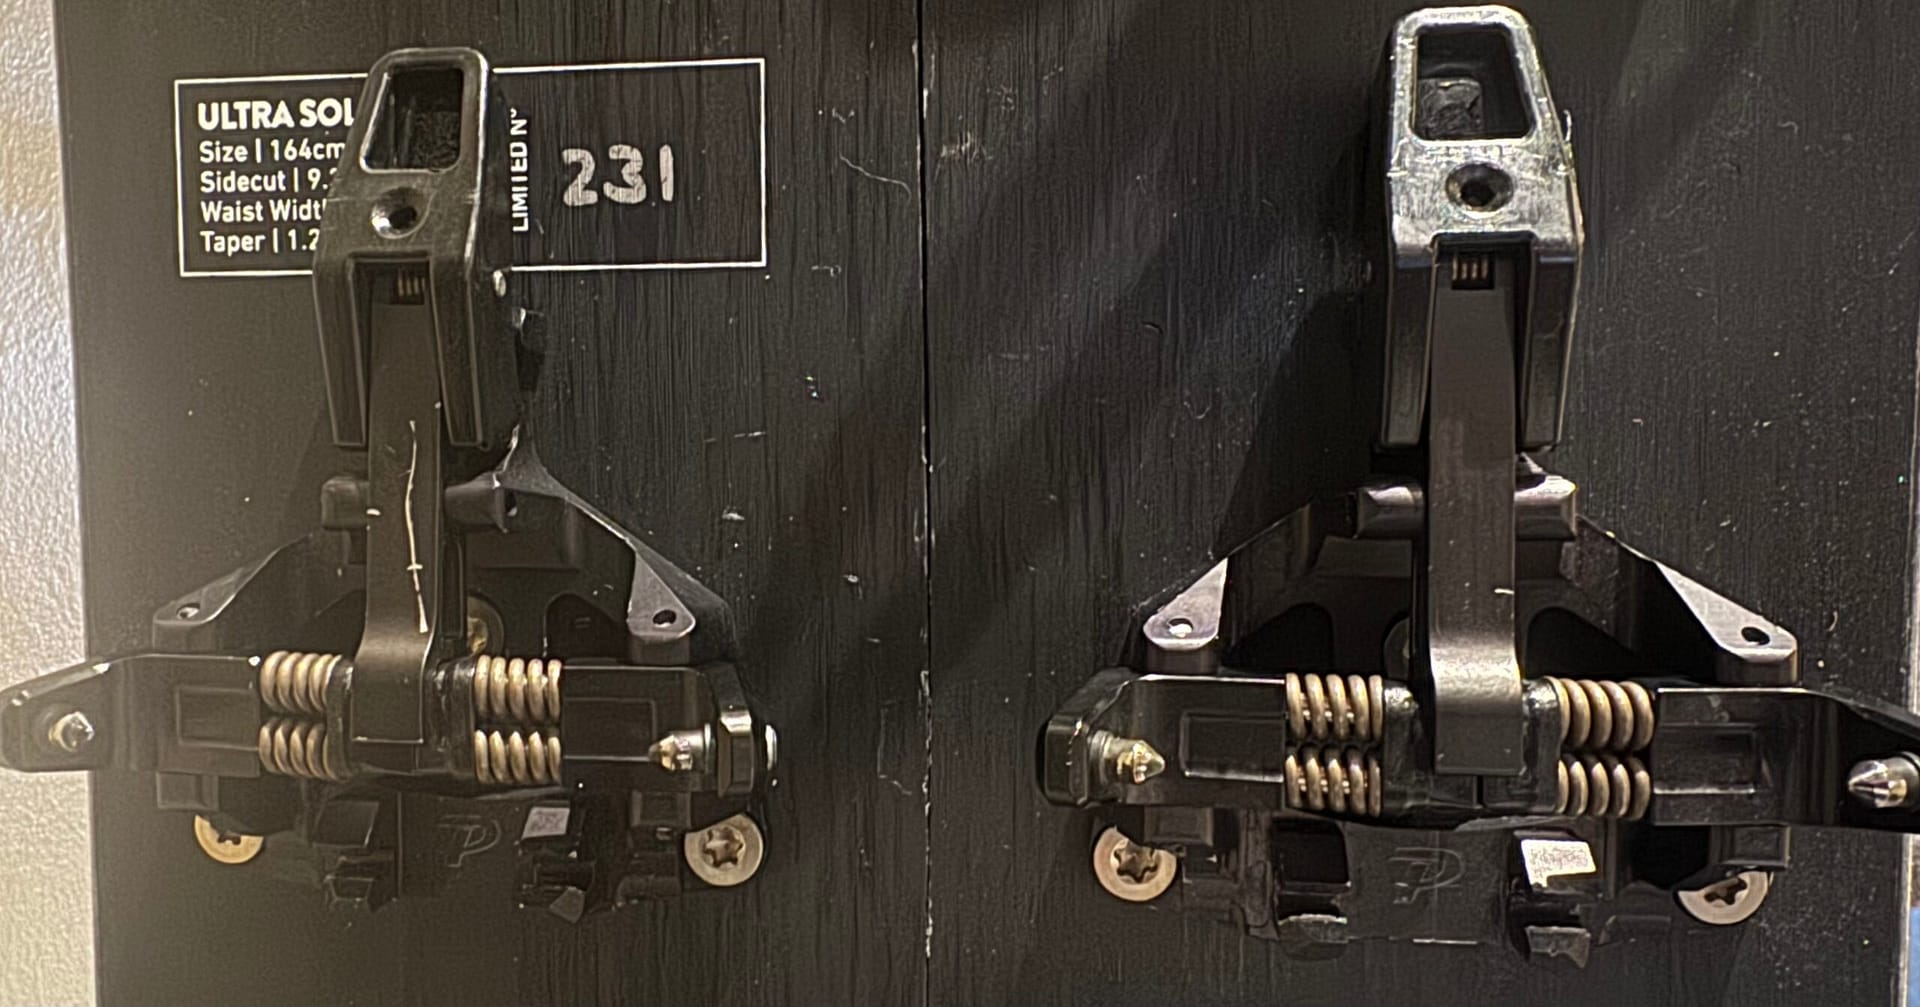
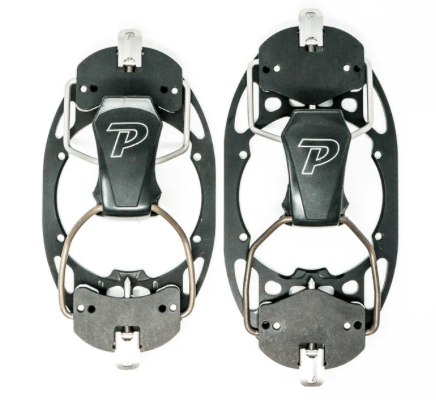
Binding It All Together: Phantom Snowboard M6 Bindings
Bindings are the unsung heroes of any splitboard setup, and the Phantom Snowboard M6 Bindings are a masterpiece. They’re robust, reliable, and offer seamless transitions between walking and riding modes. The bindings provide fantastic foot support and have a direct connection to the board, which means you get maximum responsiveness and control. Plus, they’re surprisingly easy to use, even for splitboarding newbies!
I can get in and out of the M6 bindings faster than my regular soft boot bindings as well.
A few notes: First, the bindings completely detach from the board. The number one rule for these bindings is to never, ever set them down anywhere other than attached to the board OR in your backpack. I have this constant, so far unrealized, fear that I’m going to leave these at the bottom of a run or sitting on my counter at home. If at the bottom of the run, the skin back to get them or, worse yet, the realization at the top of the next lap that you don’t have them would be a total bummer. If on the counter at home, a perfect backcountry day will be ruined when you either realize you don’t have them at the trailhead or, worse yet, at the top of the first run.
So far it hasn’t been a problem, but I do really have the firm rule that, when these come off the board, they go right into the backpack no matter what else is going on.
The second note is that these can be a bit finicky to get on in really icy conditions. This is not a real problem, but it might add a minute or two to your transition if you need to scrape the board around the cleats to allow the bindings to slide on and lock in. Luckily, Phantom thinks of everything and the toe bail doubles as an ice scraper for just this situation.
And my third note is that these can be a bit tough to close if your boot size is right up at the max for the binding size. I’ve never had a problem, but my wife’s boot is the largest recommended for the small binding and she had a bit of a learning curve regarding the best way to get leverage to snap them closed over the toe of the boot. It is no longer a problem, but it did slow down her love story with her Phantom setup on those early first dates.
On the Climb: Phantom Snowboard Adjustable Split Cleats
The Phantom Snowboard Adjustable Split Cleats are a game-changer for uphill travel. They provide extra grip and stability on steep or icy terrain, making those challenging ascents less daunting. The adjustability is a brilliant feature, allowing you to customize the angle for your comfort and the terrain’s demands. These cleats are required for the Phantom setup and, frankly, create the most secure attachment I’ve ever felt while riding.
Phantom also offers a Solo Cleat with a fixed angle. When I purchase a second pair, or next pair, of cleats, I’ll likely purchase the solo as I haven’t changed my riding angle in years. I just think they would be a tad lighter, have less parts, and I love the minimalist look. The adjustable cleat has worked perfectly, but I’m definitely going to try the Solos soon.
Rising to the Challenge: Phantom Snowboard Rocket Risers
Last but not least, the Phantom Snowboard Rocket Risers. These risers are fantastic for long, steep climbs. They give you that extra leverage when you need it, reducing calf strain and conserving your energy. This means you can enjoy your ride down without feeling completely spent from the ascent.
Risers aren’t the sexiest part of a Splitboard setup, but after years of watching my skier buddies effortlessly flick their risers up and down with the basket on their poles, I can’t tell you how frustrated I’ve been at the various versions I’ve used under my soft boot bindings. They just never worked well. They worked, but I often had to lean, or squat, down to get them up or down.
The Rocket Risers just require a quick move with the pole to lift them and a quick flick to knock them back down. Mine and my wife’s have always worked effortlessly and we’ve never had to lean down to engage or disengage them.
Conclusion: A Setup That’s Worth Every Penny
In conclusion, my current ultimate splitboard setup with the Jones Ultra Solution Board, Phantom gear, and all the bells and whistles, has been nothing short of phenomenal. It’s a setup that supports my adventurous spirit and allows me to explore the backcountry with confidence and ease. I haven’t truly loved a new type of gear in a long time as much as I love the entire Phantom hard boot setup.
For those of you considering beginning to splitboard, my advice is to invest in quality gear from the get-go. It makes a world of difference in your experience and progression. Most importantly, remember to have fun and stay safe out there!
If you can’t tell, I’m happy to discuss my backcountry setup, or anything else splitboarding; feel free to post questions in the comment sections below!!!
Happy splitboarding, everyone! Let the mountains call, and let your adventures begin. 🏂❄️🏔️
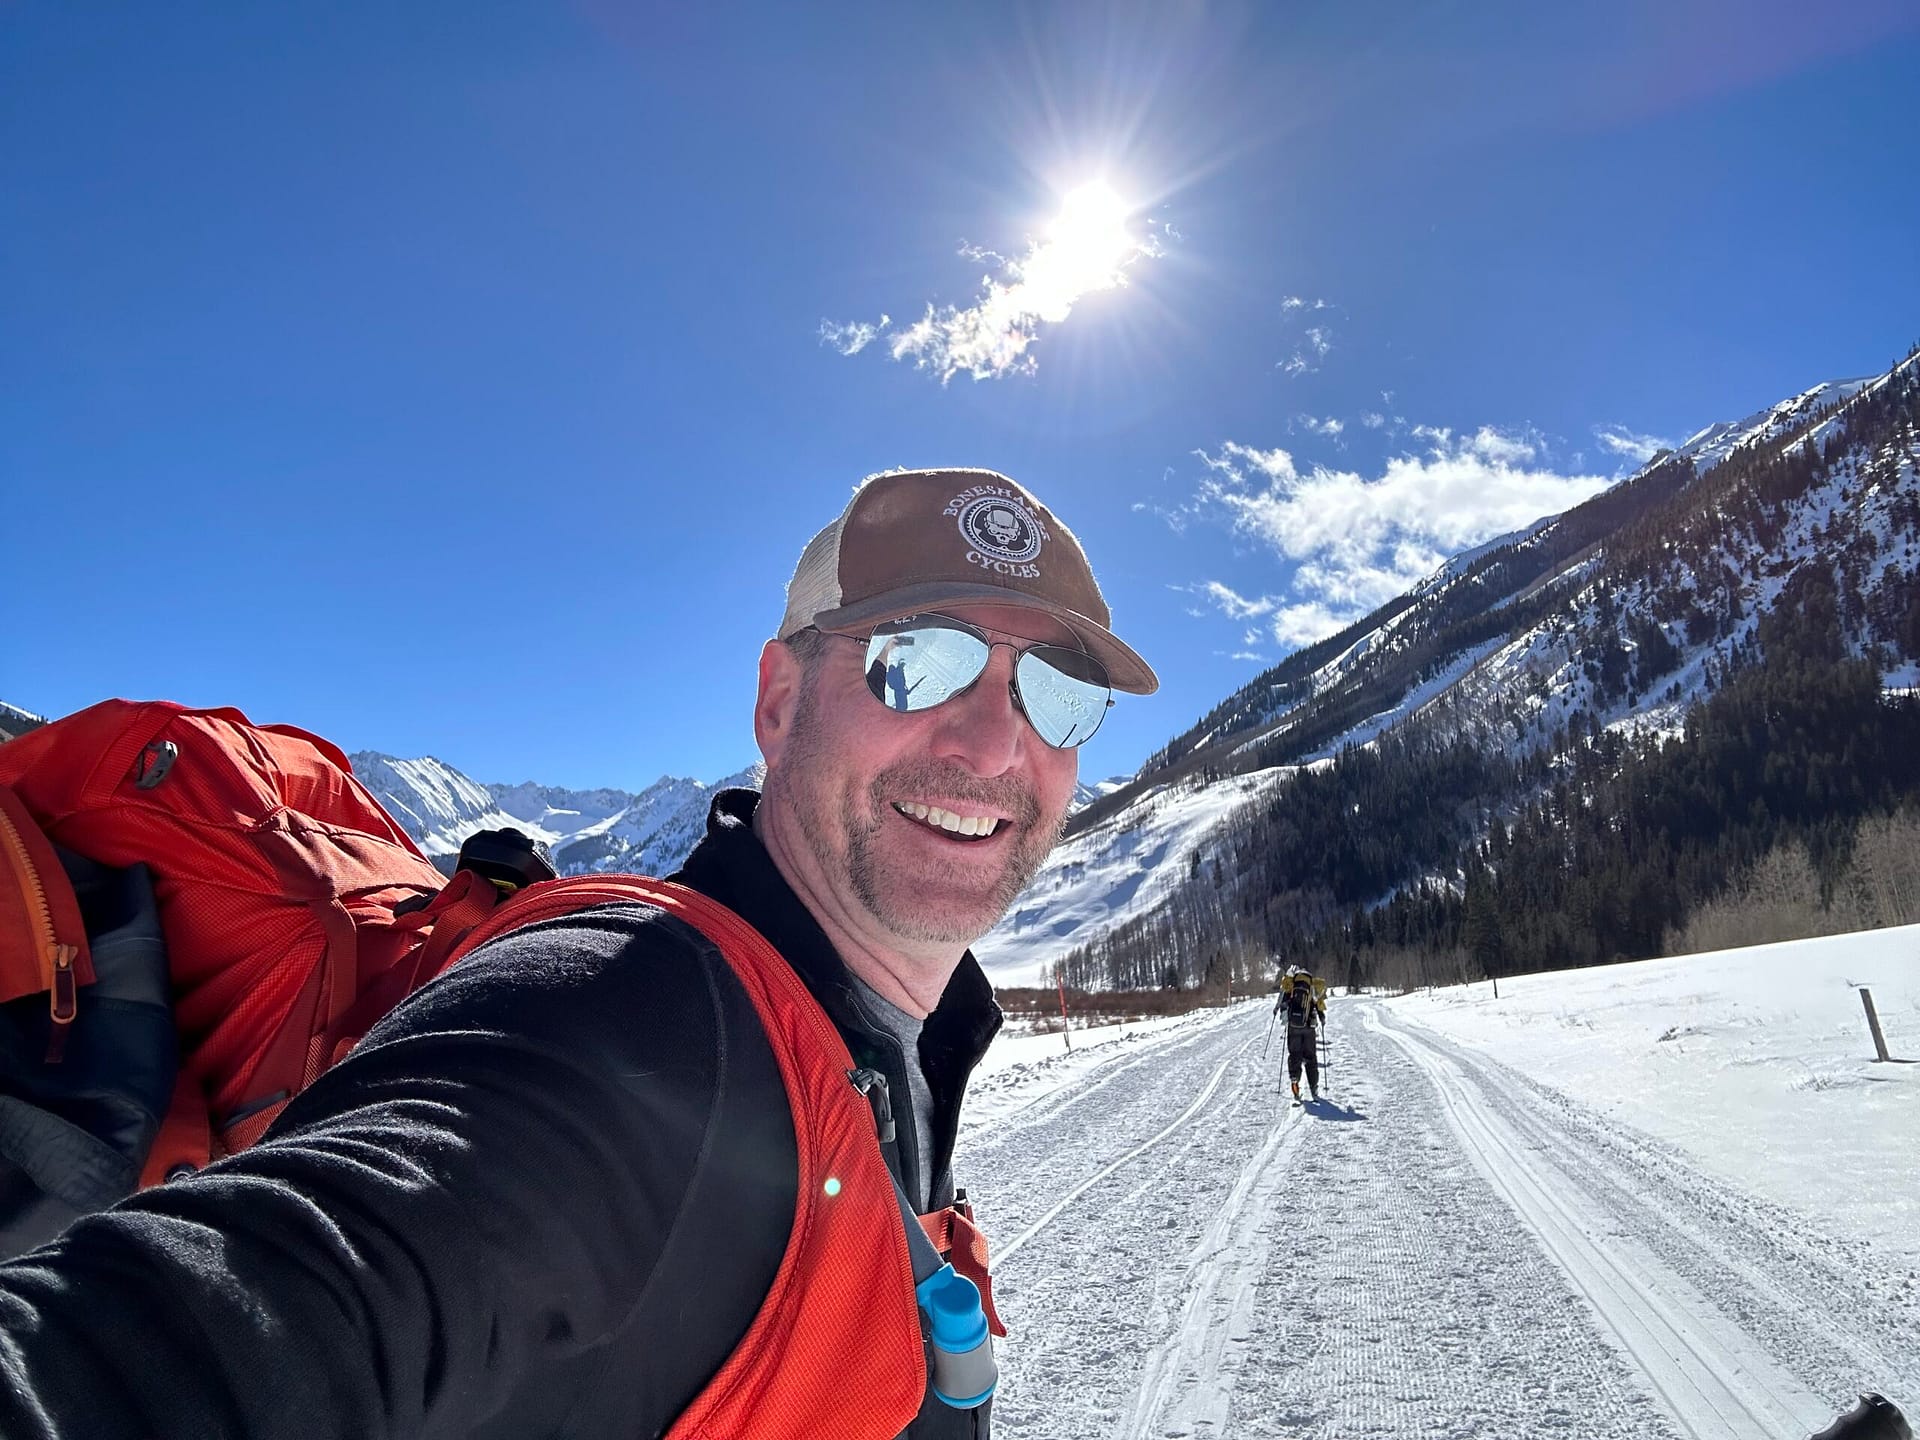
COVER PHOTO: Backcountry shot above Lindley Hut in the Elk Mountains between Aspen and Crested Butte.